
Pulse Blade
Project Type
Costume
Date
2026-Present
Skills
3D Printing, Blender, Illustrator, Laser Cutting, Vinyl Cutting, Soldering, Electronics
Ongoing project documenting the process of constructing a Pulse Blade Pilot costume from Titanfall 2.
Assets
Linked below are the digital assets used throughout my Titanfall 2 Pulse Blade Pilot project. This collection includes decals recreated from in-game references, 3D models modified for cosplay fabrication and 3D printing, and Blender models of the Pilot used for project development and visualization.
DISCLAIMER:
This is an unofficial fan project and is not affiliated with or endorsed by Electronic Arts or Respawn Entertainment. Some files are based on or derived from assets and designs from Titanfall 2. I do not claim ownership of the original characters, models, weapons, logos, or visual designs. Titanfall, Titanfall 2, and all related intellectual property belong to Electronic Arts, Respawn Entertainment, and their respective rights holders.
TERMS OF USE:
-
These files are provided free for personal, noncommercial use only. You may modify them for your own projects, but you may not sell the files, redistribute them as your own, include them in paid asset packs, or use them to manufacture products for sale.
-
Credit is appreciated whenever you share a build or publish content featuring one of my assets. Please credit @arcane.descent and link back to my Instagram and/or this page if possible.
-
If you have questions or need help modifying any assets, specifically but not limited to customizing and personalizing decals, please contact me via email or Instagram DM.

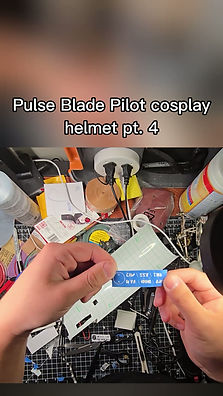
![decals [Recovered].png](https://static.wixstatic.com/media/1c5e67_febebb80363e4aba8f8ad6110076f977~mv2.png/v1/fill/w_357,h_462,al_c,q_85,usm_0.66_1.00_0.01,enc_avif,quality_auto/1c5e67_febebb80363e4aba8f8ad6110076f977~mv2.png)


Files & Printing

Similarly to the ODST project, I'm primarily using files from Titlewave Designs. He sells a set that includes 3D print files for the helmet and body armor. His models are detailed, high quality, and fairly accurate to the in-game assets. However, there are still a few modifications that need to be made prior to printing.


Using Blender, I boolean holes(marked with red) into the helmet, either for LEDs or for wires to pass through. In hindsight, I should have added more holes for ventilation, attachment points, inset electronics, and magnets.


I use Armorsmith Designer in order to scale the files to my size. While the program is amazing, it isn't accurate for every single body part, so care should be taken to ensure the part is properly scaled. Consideration should also be taken for auxillary components, such as hair, head mask, padding, and electronics. Case in point, the helmet is scaled to 93% uniformly of its original size in Armorsmith, but is slightly too small in reality, to the point where a balaclava is the difference between a fit.


Unlike my ODST, which was printed on a Neptune 4 plus(320 x 320 x 385mm), This helmet is being printed on a Centauri Carbon(256^3 mm). This means that the helmet needs to be split up into more parts, 4 in this case. I'm still printing with PETG for its ease of use, durability, and higher melting point. The files come with the atachments separately, so naturally those are printed separately.
Processing
Joining the Prints
After printing, the sections are joined. I use superglue for the initial bond and tape to keep the segments aligned. During slicing, I added dovetail connections to make alignment easier.
Plastic Welding
A soldering iron is used along with extra filament to meld the seam together, creating a molecular bond between the PETG of the two halves. This offers superior adhesion and strength compared to other adhesive options and is much less likely to crack along the print seam in the event of an impact.

Attachment Ring
At this point, I also embed a metal ring at the nape of the helmet. This serves as a secure attachment point, allowing me to clip the helmet to something should I need my hands free, without having to worry about the connection point failing.
Embedded ring used as a secure clip point during travel.

Painting
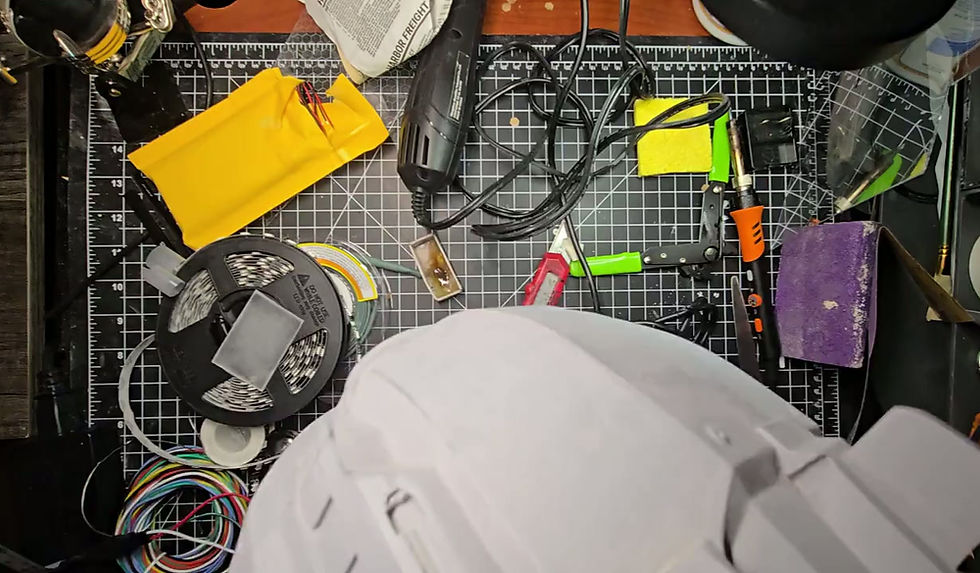
Gray filler primer base.
For painting, I start with a base of gray filler/primer. Following that, I add a coat of silver/metal paint with a layer of hairspray on top. The hairspray allows me to chip off paint later on that exposes the silver. Then the entire helmet is painted white, masked off, and painted black.

Metal paint layer.

Hairspray layer.

White layer.
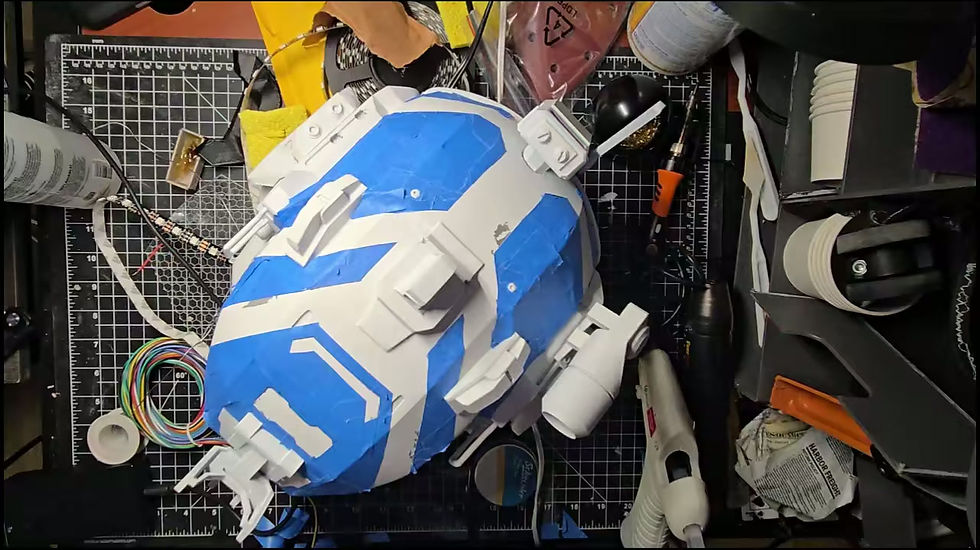
Masking the white.

Removing the mask after the black coat.

Handpainting certain sections of the helmet to the correct beige color.

Adding a beige wash over the white to add a worn look.

Helmet after chipping layers of paint.

Drybrushing the black for a softer weathering transition.

Painting certain elements chrome.
The Visor

DXF template of the visor.
The visor is laser cut from 1/8" acrylic. The pattern is also scored from laser cutting. Using a heat gun, I form the visor to the curve of the helmet using a buck that matches the curvature.
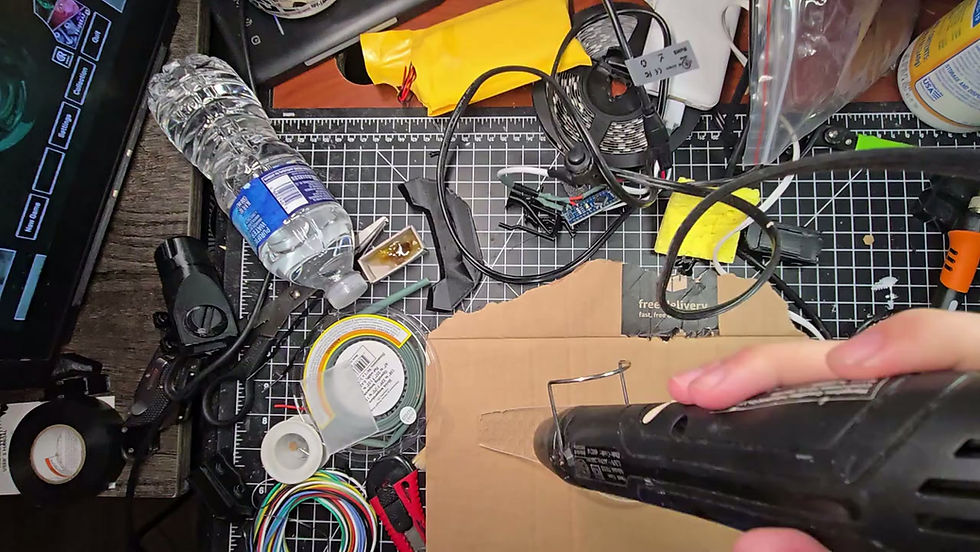
Forming the visor.
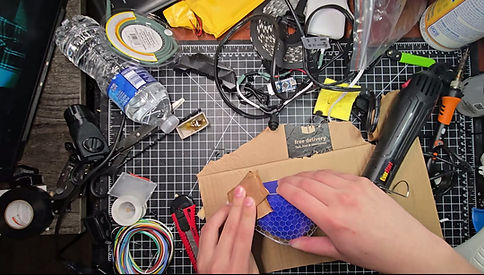

By scoring the hexagonal pattern rather than painting or using a decal, it allows the LED light to diffuse throughout the visor.
Decals


